Next.js + material-ui + styled-componentsの型安全のテーマカスタマイズ
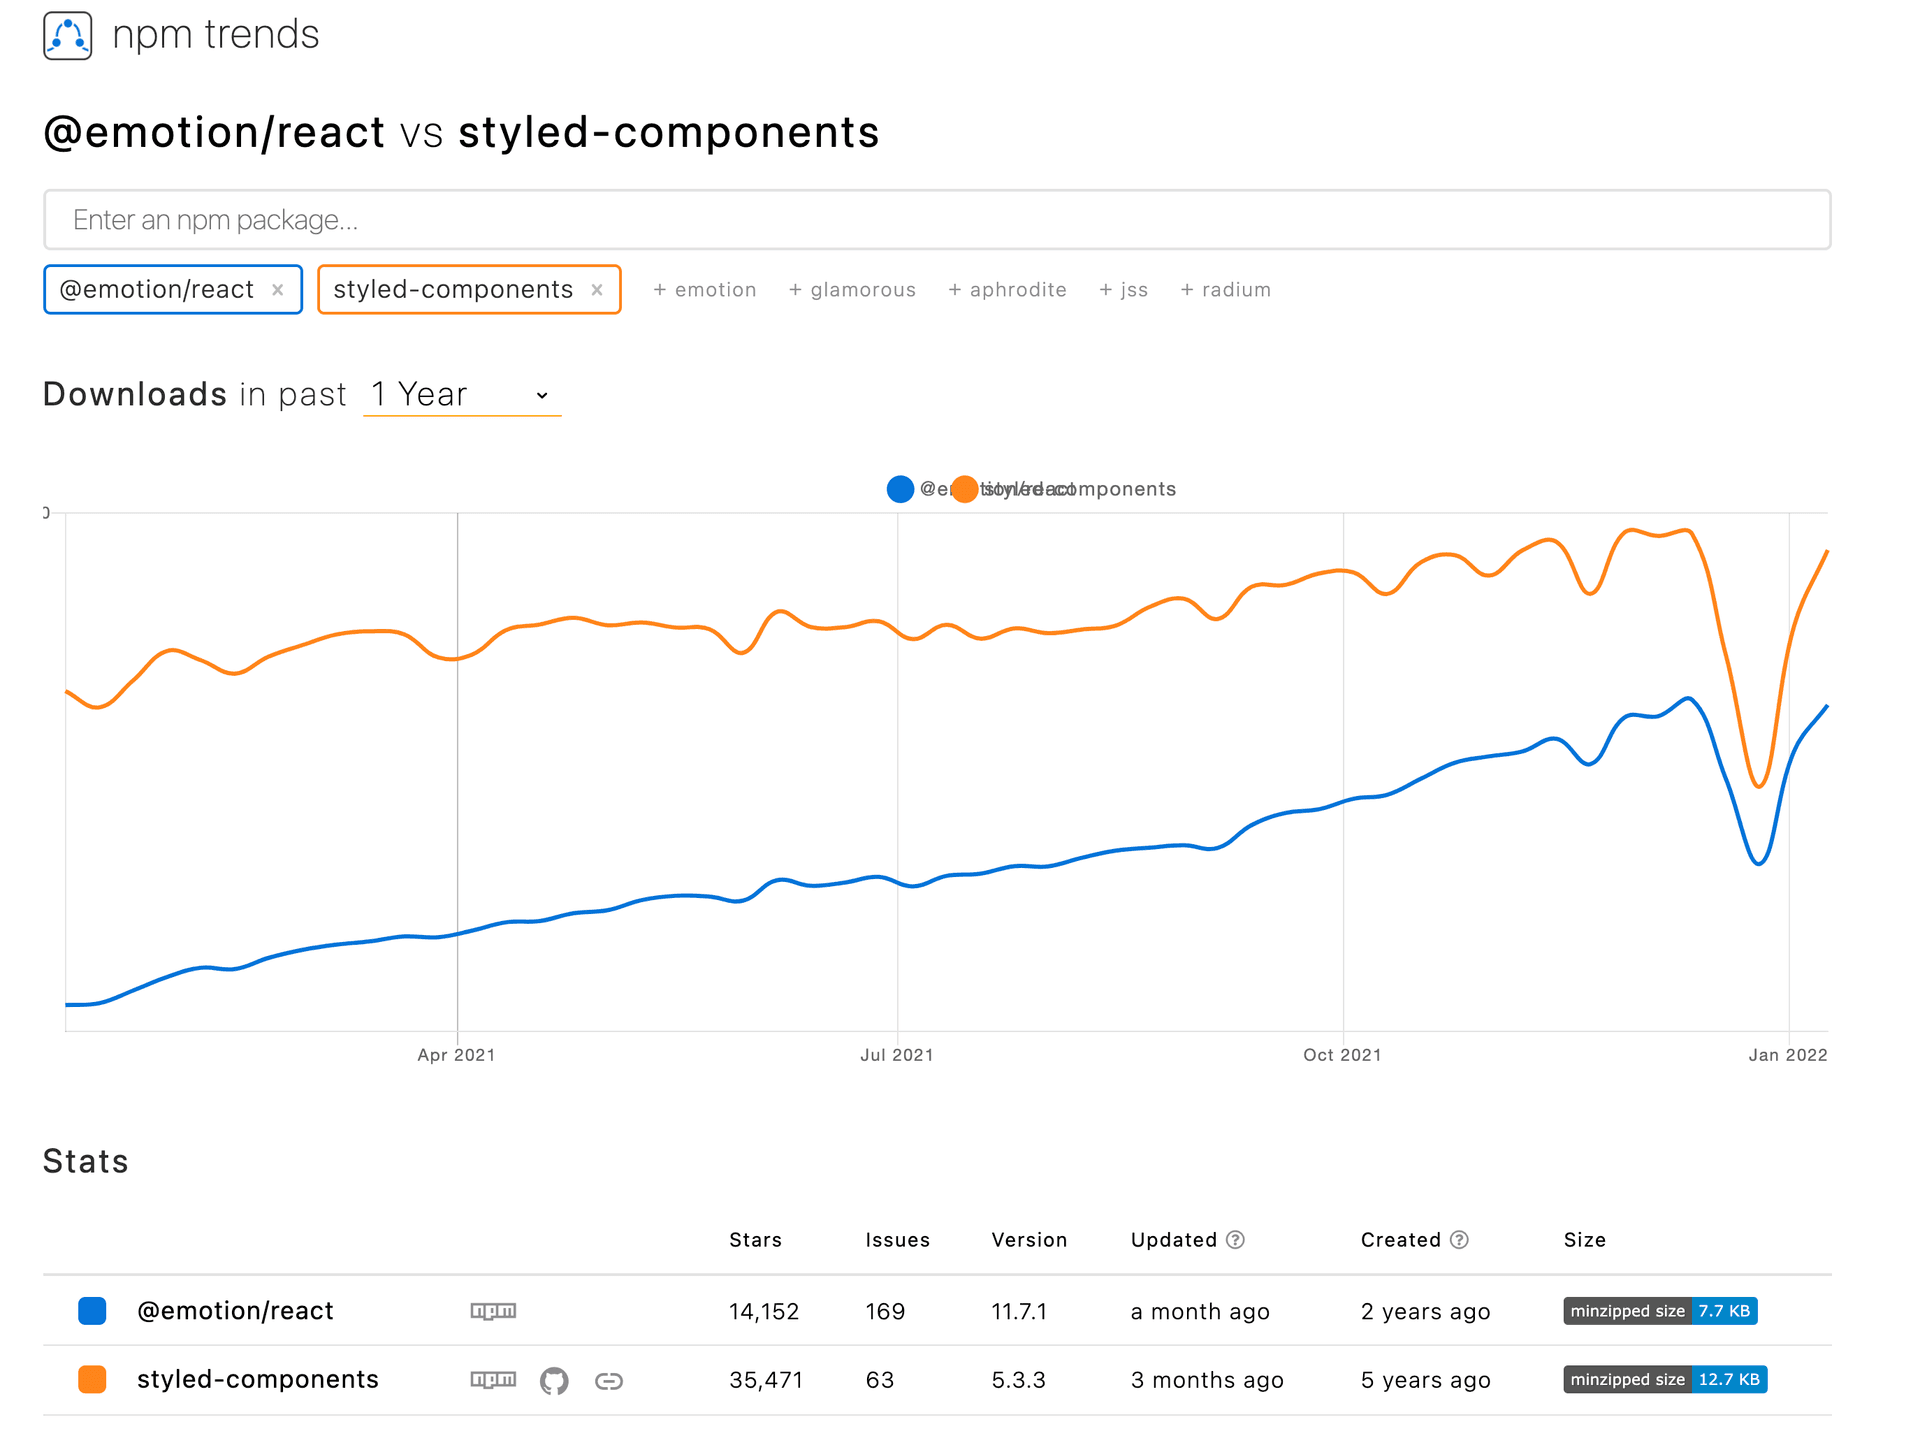
Reactのmaterial-ui(現在muiへリネームされた)を使う時、css-in-jsのエンジンを選択しなければいけません。material-uiが推しているのは@emotion/reactですが、やっぱり今もstyled-componentsのほうが人気です。

ただし、material-ui + styled-components + TypeScriptの組み合わせは簡単に設定できるわけではありません。material-uiのthemeに自分が定義したスタイルを入れたい時にはさらに困難になります。今日はこの設定方法を共有したいと思います。
material-uiのドキュメントに載せている方法
package.jsonにstyled-engineの設定
{
"dependencies": {
"@mui/styled-engine": "npm:@mui/styled-engine-sc@latest"
},
"resolutions": {
"@mui/styled-engine": "npm:@mui/styled-engine-sc@latest"
},
}
tsconfig.jsonにpathsの追加
import { css } from "@mui/material/styles"; のcssに型をつけるようにこの設定が必要です。
{
"compilerOptions": {
"paths": {
"@mui/styled-engine": ["./node_modules/@mui/styled-engine-sc"]
}
},
}
Next.jsのwebpackの設定
const withTM = require('next-transpile-modules')([
'@mui/material',
'@mui/system',
]);
module.exports = withTM({
webpack: (config) => {
config.resolve.alias = {
...config.resolve.alias,
'@mui/styled-engine': '@mui/styled-engine-sc',
};
return config;
}
});
themeにカスタマイズの変数の型の追加
グローバルの型定義なので、global.d.tsに定義したほうがいいでしょう。ルートフォルダのglobal.d.tsに下記のものを追加し、material-uiデフォルトthemeに型マージできます。
declare module "@mui/material/styles" {
interface Theme {
status: {
info: string;
danger: string;
};
}
// allow configuration using `createTheme`
interface ThemeOptions {
status?: {
info?: string;
danger?: string;
};
}
}
theme.tsファイルの作成し、ThemeProviderに渡す
import { createTheme } from "@mui/material";
export const theme = createTheme({
status: {
info: "#2196f3",
danger: "#ff0000",
},
});
import type { AppProps } from "next/app";
import { ThemeProvider } from "styled-components";
import { theme } from "../theme";
function MyApp({ Component, pageProps }: AppProps) {
return (
<ThemeProvider theme={theme}>
<Component {...pageProps} />
</ThemeProvider>
);
}
export default MyApp;
使ってみる
Intellisenseが効くようになりました。

ただしこの方法は完璧ではない
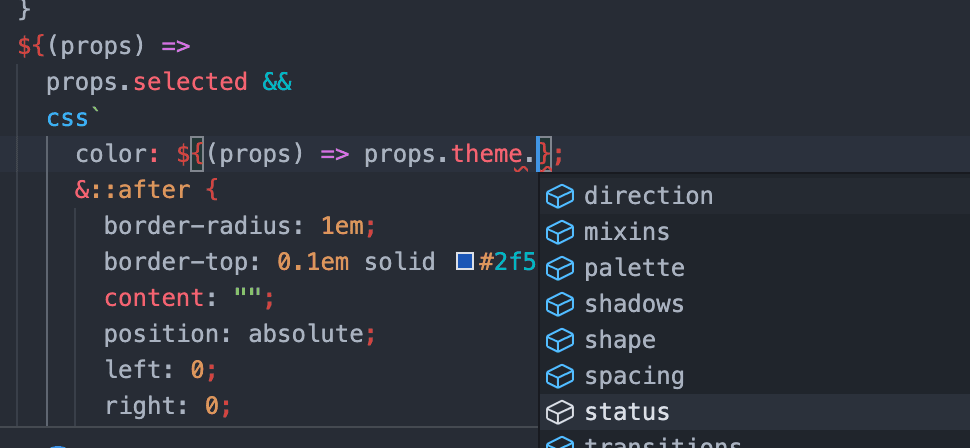
styled-componentsのcss helper関数を使ってみると。

そうです。css中にthemeの型が認識されていないです。
tsconfig.json中のpathsの設定はただcss helper関数を@emotionの参照からstyled-componentsの参照に変えただけなので、material-ui中に定義されている型がstyled-componentsのcssに反映されていません。
残りの問題の解決
解決策はglobal.d.tsに下記の型の定義を追加しています。
import { Theme as MuiTheme } from '@mui/material/styles';
declare module "@mui/material/styles" {
interface Theme {
status: {
info: string;
danger: string;
};
}
// allow configuration using `createTheme`
interface ThemeOptions {
status?: {
info?: string;
danger?: string;
};
}
}
// enable types in `css` helper function in `@mui/material/styles`
declare module "styled-components" {
interface DefaultTheme extends MuiTheme {}
}
これで問題なく型チェックしてくれます。

もっと簡潔な手順
落ち着いて考えると、material-uiがstyled-componentsのContextを利用しているので、@mui/material/stylesのstyledを使わずに、慣れてきたstyled-componentsのstyledを直接使ってもいいでしょう。そうすると、手順は下記のように整理できます。
package.jsonにstyled-engineの設定
{
"dependencies": {
"@mui/styled-engine": "npm:@mui/styled-engine-sc@latest"
},
"resolutions": {
"@mui/styled-engine": "npm:@mui/styled-engine-sc@latest"
},
}
Next.jsのwebpackの設定
/** @type {import('next').NextConfig} */
module.exports = {
reactStrictMode: true,
experimental: {
styledComponents: true,
},
};
themeにカスタマイズの変数の型の追加
グローバルの型定義なので、global.d.tsに定義したほうがいいでしょう。ルートフォルダのglobal.d.tsに下記のものを追加し、material-uiデフォルトthemeに型マージできます。
declare module "@mui/material/styles" {
interface Theme {
status: {
info: string;
danger: string;
};
}
// allow configuration using `createTheme`
interface ThemeOptions {
status?: {
info?: string;
danger?: string;
};
}
}
// enable types in `css` helper function in `@mui/material/styles`
declare module "styled-components" {
interface DefaultTheme extends MuiTheme {}
}
theme.tsファイルの作成し、ThemeProviderに渡す
import { createTheme } from "@mui/material";
export const theme = createTheme({
status: {
info: "#2196f3",
danger: "#ff0000",
},
});
import type { AppProps } from "next/app";
import { ThemeProvider } from "styled-components";
import { theme } from "../theme";
function MyApp({ Component, pageProps }: AppProps) {
return (
<ThemeProvider theme={theme}>
<Component {...pageProps} />
</ThemeProvider>
);
}
export default MyApp;
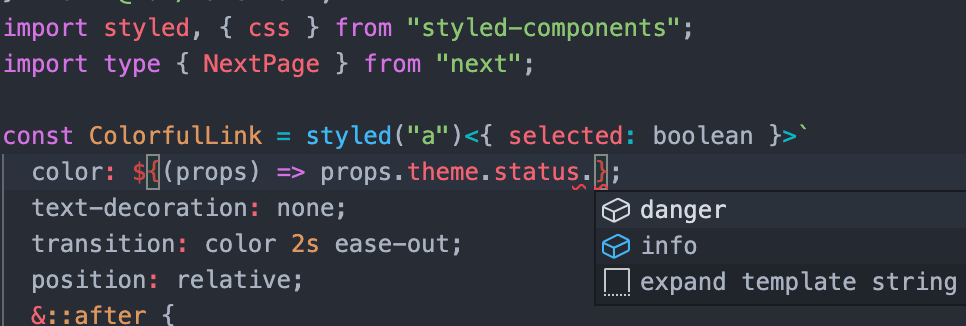
使ってみる
import styled, { css } from "styled-components";
styledの中にも。

cssの中にも問題ありません。

完了
型安全のthemeを使えるようになり、気持ちいいですね。とはいえ、material-ui@v5がstyled-componentsのサポートはいまいちなので、技術検討する時、@emotionを使うか、さらにmaterial-uiを使って本当にいいなのか、斟酌した方がいいかもしれません。
フルプロジェクトはこちらへ。
https://github.com/thundermiracle/nextjs-mui-styled-components-with-typescript

Blog part of ThunderMiracle.com
コメントは表示領域に入ると読み込みます