
Visual Regression Test by Playwright Visual Comparison and Github Actions -- 1
Why E2E tests
When upgrading a library or refactoring a project, checking a responsive website's PC size, tablet size, mobile size, and combinations of Chrome, Firefox, and Safari one by one can be too much of a burden. As the number of pages increases, it becomes difficult to check for degradation, and ultimately, it leads to a vicious cycle of postponing upgrades due to the significant workload they entail. Homepages and other websites serve as a company's face, and neglecting their maintenance can have a negative impact on the company. However, maintaining them requires a vast amount of effort. What can be done in such a situation?
The answer is E2E test.
Actually visual checks performed by human eyes can be easily done using Playwright's Visual Comparison feature.
Why Playwright
Compared to Selenium and Cypress, Playwright is still relatively new and lacks sufficient support for real device testing. However, for general websites, it is not necessary to perform checks on actual devices, so this can be ignored.
Conversely, writing a single test with Playwright allows for checking Chrome, Firefox, Safari (Webkit), and various sizes, making it very convenient.
Additionally, Playwright supports not only JavaScript but also .Net, Python, Java, and other languages, making it promising for the future.
Please refer to the following link for the details. https://www.lambdatest.com/blog/playwright-vs-selenium-vs-cypress/
Playwright Visual Comparison
Referring to documentation, implementing visual comparison tests with Playwright is very easy. https://playwright.dev/docs/test-snapshots
Playwright Settings
As documentation.
import { devices, defineConfig } from '@playwright/test';
export default defineConfig({
workers: process.env.CI ? '100%' : undefined,
projects: [
{
name: 'chromium',
use: { ...devices['Desktop Chrome'], locale: 'ja-JP' },
},
{
name: 'firefox',
use: { ...devices['Desktop Firefox'], locale: 'ja-JP' },
},
{
name: 'webkit',
use: { ...devices['Desktop Safari'], locale: 'ja-JP' },
},
{
name: 'chromium mobile',
use: { ...devices['Galaxy S9+'], locale: 'ja-JP' },
},
{
name: 'webkit mobile',
use: { ...devices['iPhone 13'], locale: 'ja-JP' },
},
],
use: {
baseURL: process.env.BASE_URL || 'http://localhost:3000',
},
reporter: 'html',
});
Line 28: the reason for using the environment variable process.env.BASE_URL is that the baseURL may change during CI execution.
Line 30: the HTML reporter has a user-friendly before-after compare UI that is quite useful.
Writing Visual Comparison Test
Only need a few lines of code per page.
import { test, expect } from '@playwright/test';
test('visual landing page test', async ({ page }) => {
await page.goto('');
await expect(page).toHaveScreenshot({ fullPage: true });
});
When executed locally (playwright test), it may fail on the first run but it generates comparison snapshot png files for you.
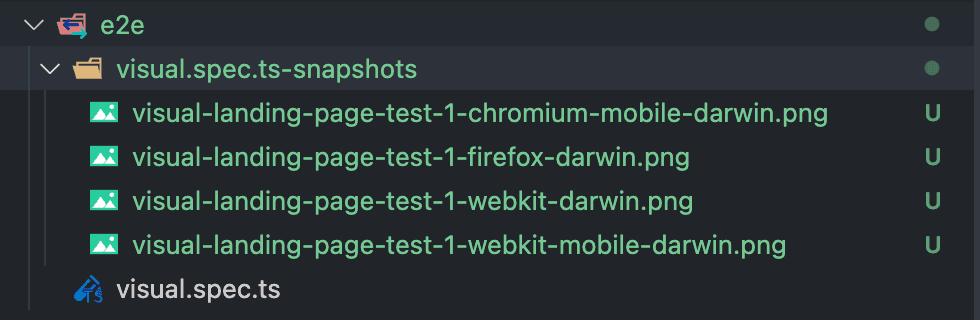
If you run it again, it should finish without any issues.

If you want to update the snapshots, you can run playwright test --update-snapshots.
That's all for writing tests, simple! right? All that remains is to run the E2E tests automatically on CI.
CI with Github Action
The following instructions are based on these prerequisites:
- A Next.js project with automatic deployment on Vercel
- Using Github Action for Continuous Integration
- Using pnpm as the package manager.
Here are the steps:
-
Use the Playwright Docker container.
Generally, you need to run
npx playwright install-depsto set up the environment for running Playwright. However, this command is very heavy, so using a Docker container can save this step and speed up the testing process. -
Install dependencies.
-
Obtain the preview URL once the deployment on Vercel is complete.
I'm using justincase-jp/vercel-preview-url-alias Github Action.
-
Pass preview URL to
BASE_URL. -
To facilitate troubleshooting in case of test failures, upload the playwright-report folder (which contains the test results) as an artifact.
A bit complicated. Here are the summaries.
name: e2e
on: [deployment_status]
jobs:
visual-tests:
name: "basic visual comparison tests"
timeout-minutes: 5
runs-on: ubuntu-latest
container: mcr.microsoft.com/playwright:v1.31.2-focal
steps:
- uses: actions/checkout@v3
- run: corepack enable
- uses: actions/setup-node@v3
with:
node-version-file: '.nvmrc'
cache: 'pnpm'
- name: Install dependencies
run: pnpm install --ignore-scripts
- name: Get Vercel's Alias Preview URL
id: alias-preview-url
uses: justincase-jp/vercel-preview-url-alias@0.2.1
with:
vercel_access_token: ${{ secrets.VERCEL_ACCESS_TOKEN }}
vercel_project_id: ${{ secrets.VERCEL_PROJECT_ID }}
fail_when_cancelled: false
- name: Tests
if: steps.alias-preview-url.outputs.status == 'READY'
run: HOME=/root pnpm e2e
env:
BASE_URL: https://${{ steps.alias-preview-url.outputs.preview_url_origin }}
- name: Upload HTML report as artifact.
uses: actions/upload-artifact@v3
if: always()
with:
name: visual-tests
path: playwright-report
Line 33: The only thing to be aware of is the command for running the tests. Since the pnpm command is executed inside the Docker container, you need to add HOME/root to the command.
Let's try
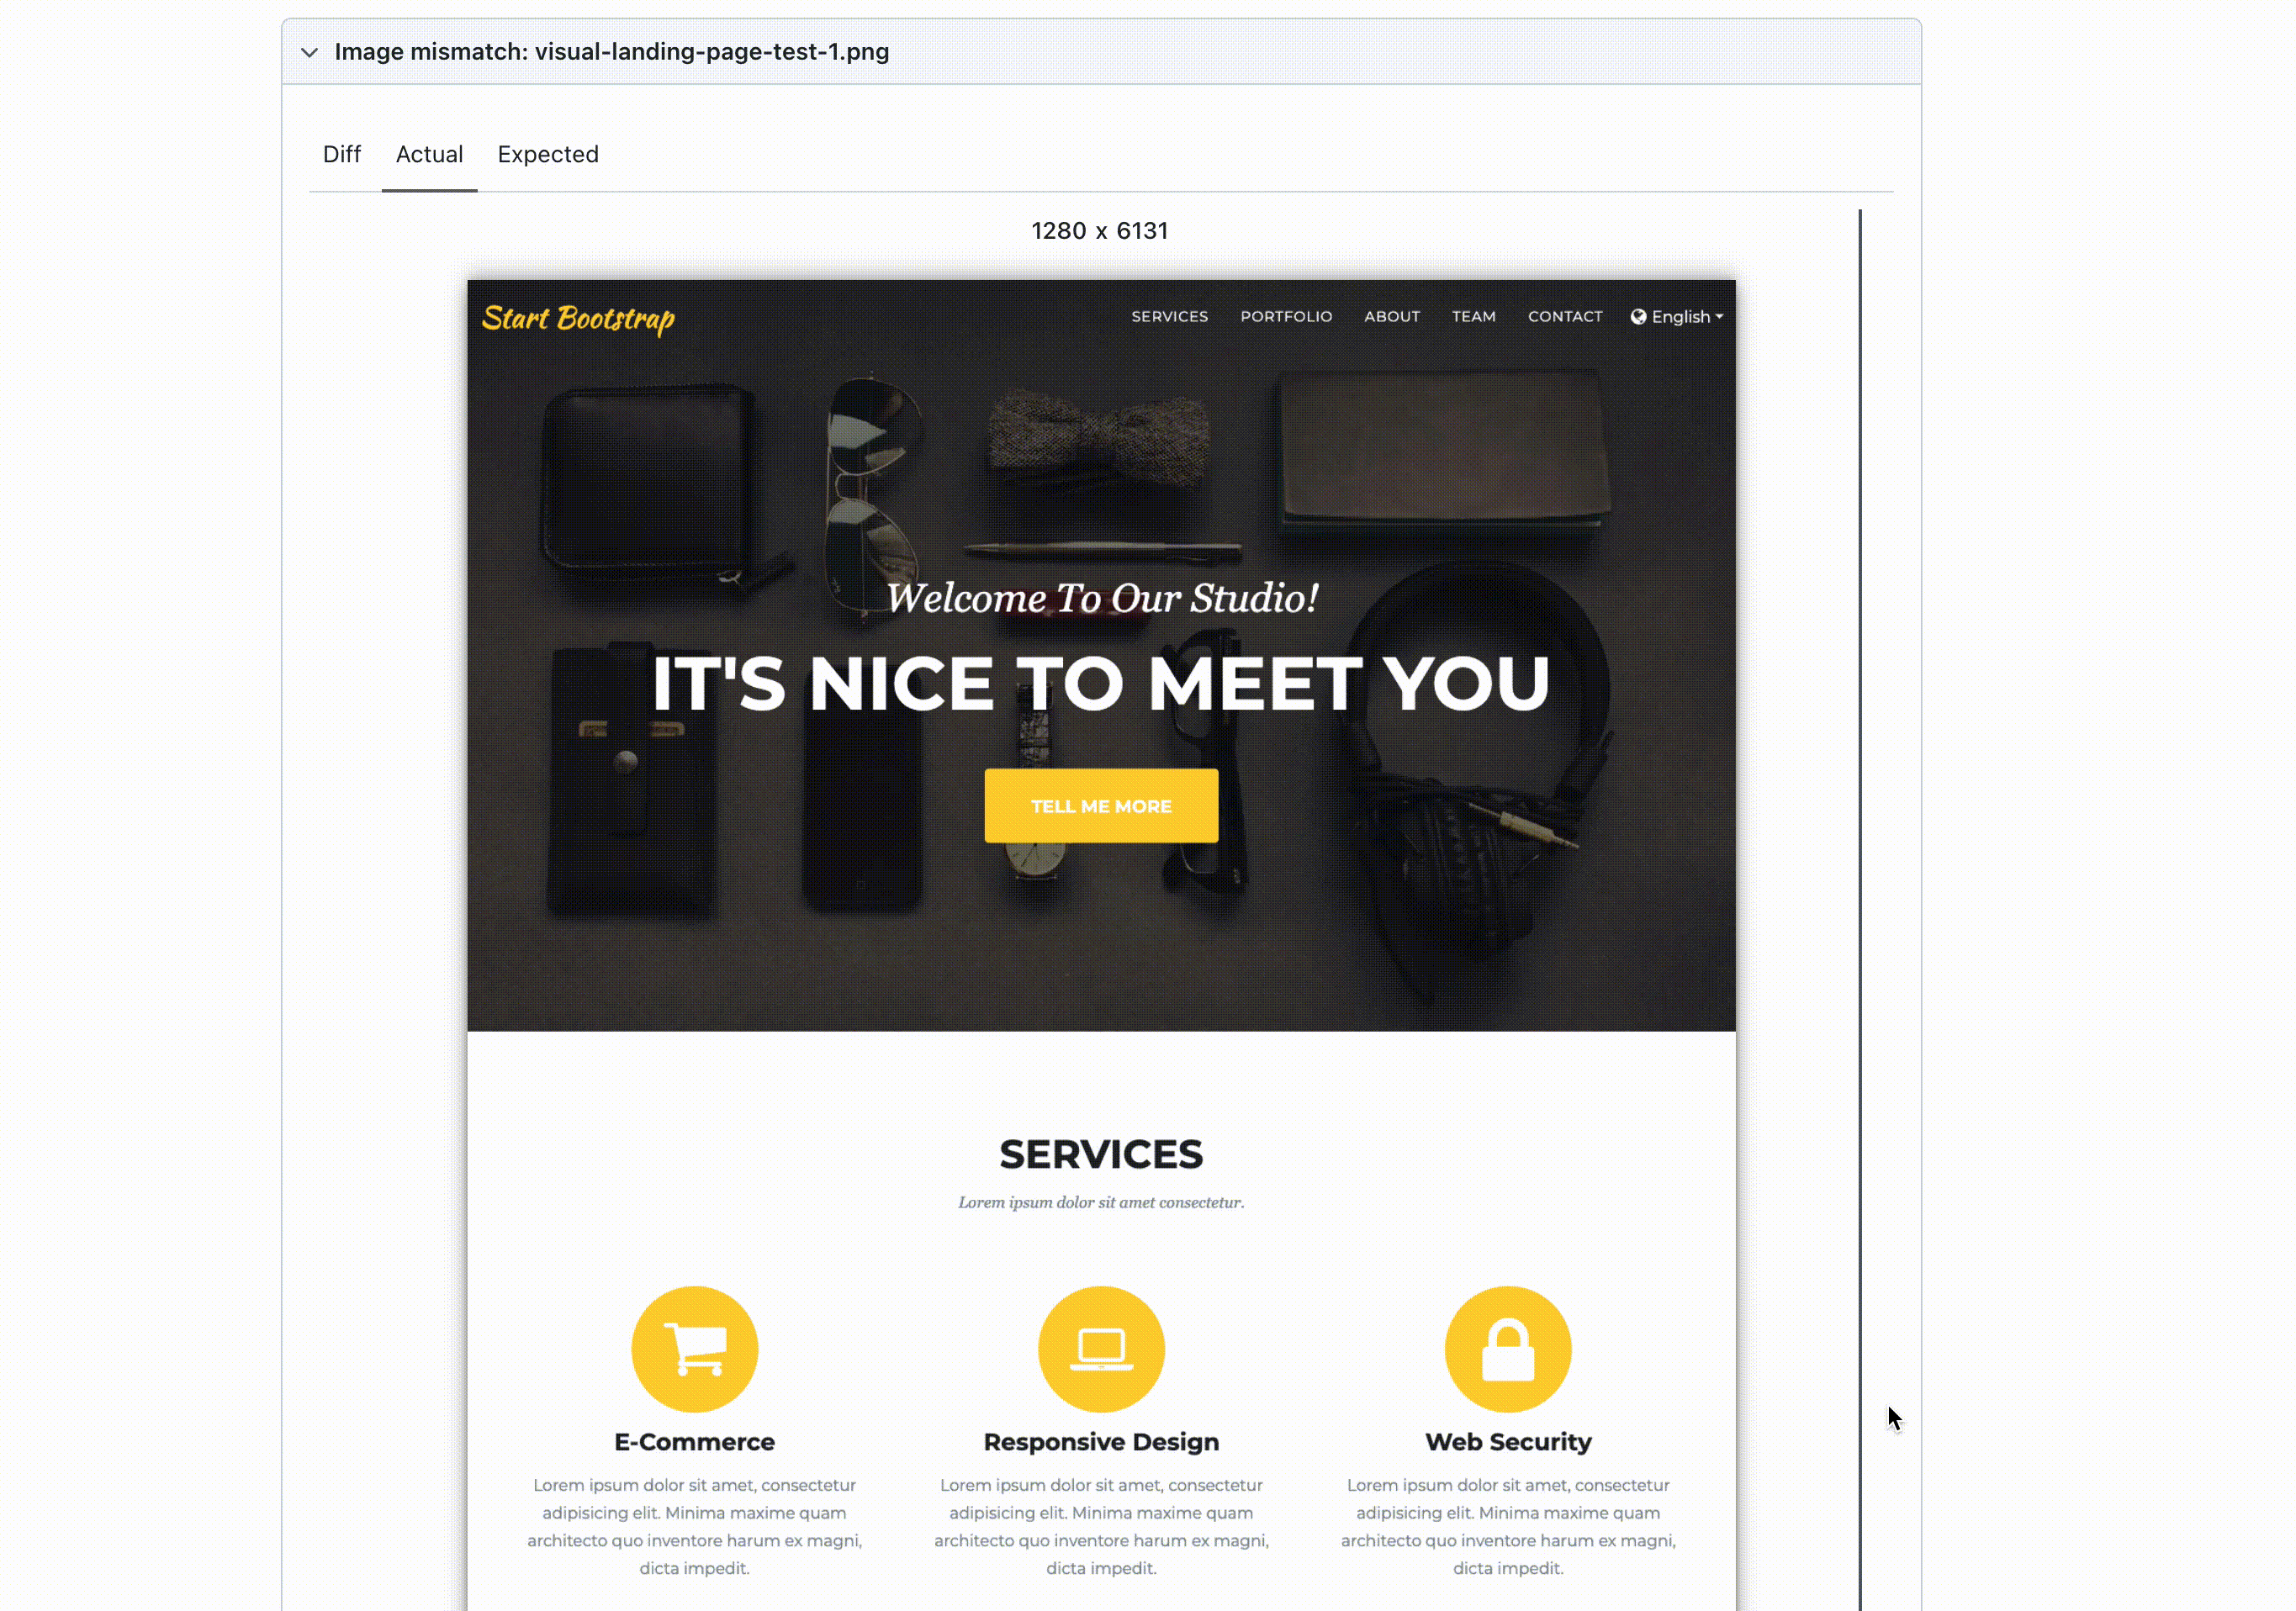
Let's check the error messages.
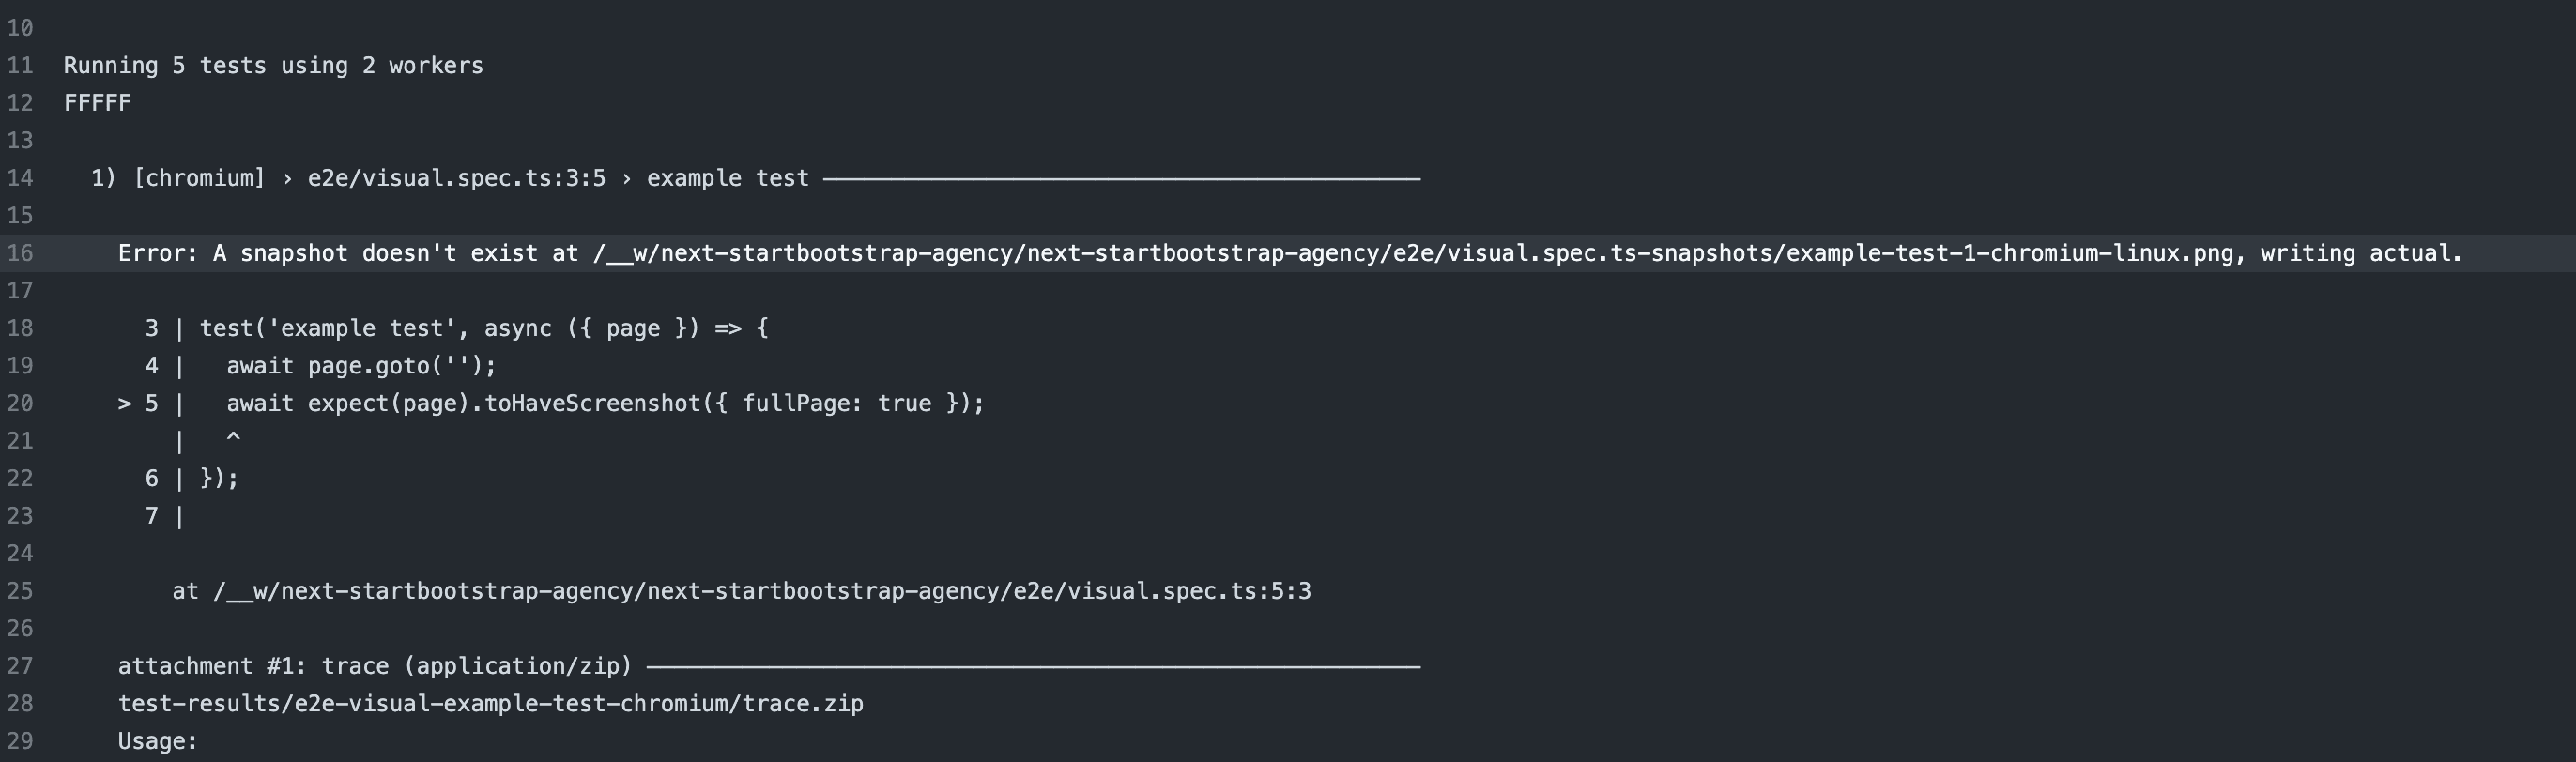
I see. The file name of the snapshot generated by Playwright was visual-landing-page-test-1-chromium-darwin.png.
So the naming rule for the snapshot file is [description of the test][project name]-[OS name].png. darwin is the suffix for snapshots generated within MacOS, while in the Playwright Docker container running Ubuntu, the suffix will be linux. Therefore, the test failed because it couldn't find the proper snapshots.
Why does Playwright append those suffixes to the snapshot filenames automatically? It's because the rendering process is different based on OS + browser + size.
The solution would be to generate the test snapshots from within the same environment, which is the Playwright Docker container.
Generate the test snapshots via Playwright Docker container
To achieve this, there are several methods. Ideally, it would be best to generate (or update) snapshots in a PR triggered by some action, but the configuration for that is not simple.
So for now, let's try the simplest method. That is, launching a Docker container locally and generating snapshots.
Dockerfile
The Docker image should be the same as CI. We will use the latest version of Playwright.
FROM mcr.microsoft.com/playwright:v1.31.2-focal
WORKDIR /app
COPY package.json pnpm-lock.yaml ./
RUN corepack enable && pnpm install
COPY . .
CMD [ "pnpm", "e2e:upd" ]
docker-compose
In order to synchronize the generated snapshots, it's necessary to mount the /e2e/visual.spec.ts-snapshots folder. Since it can be inconvenient to run the docker command every time, let's use docker-compose.
version: '3.8'
services:
e2e-visual-generator:
build:
context: .
dockerfile: Dockerfile
environment:
- BASE_URL=https://next-startbootstrap-agency.vercel.app/
volumes:
- ./e2e:/app/e2e
Generate snapshots
docker-compose build && docker-compose run
Try CI again
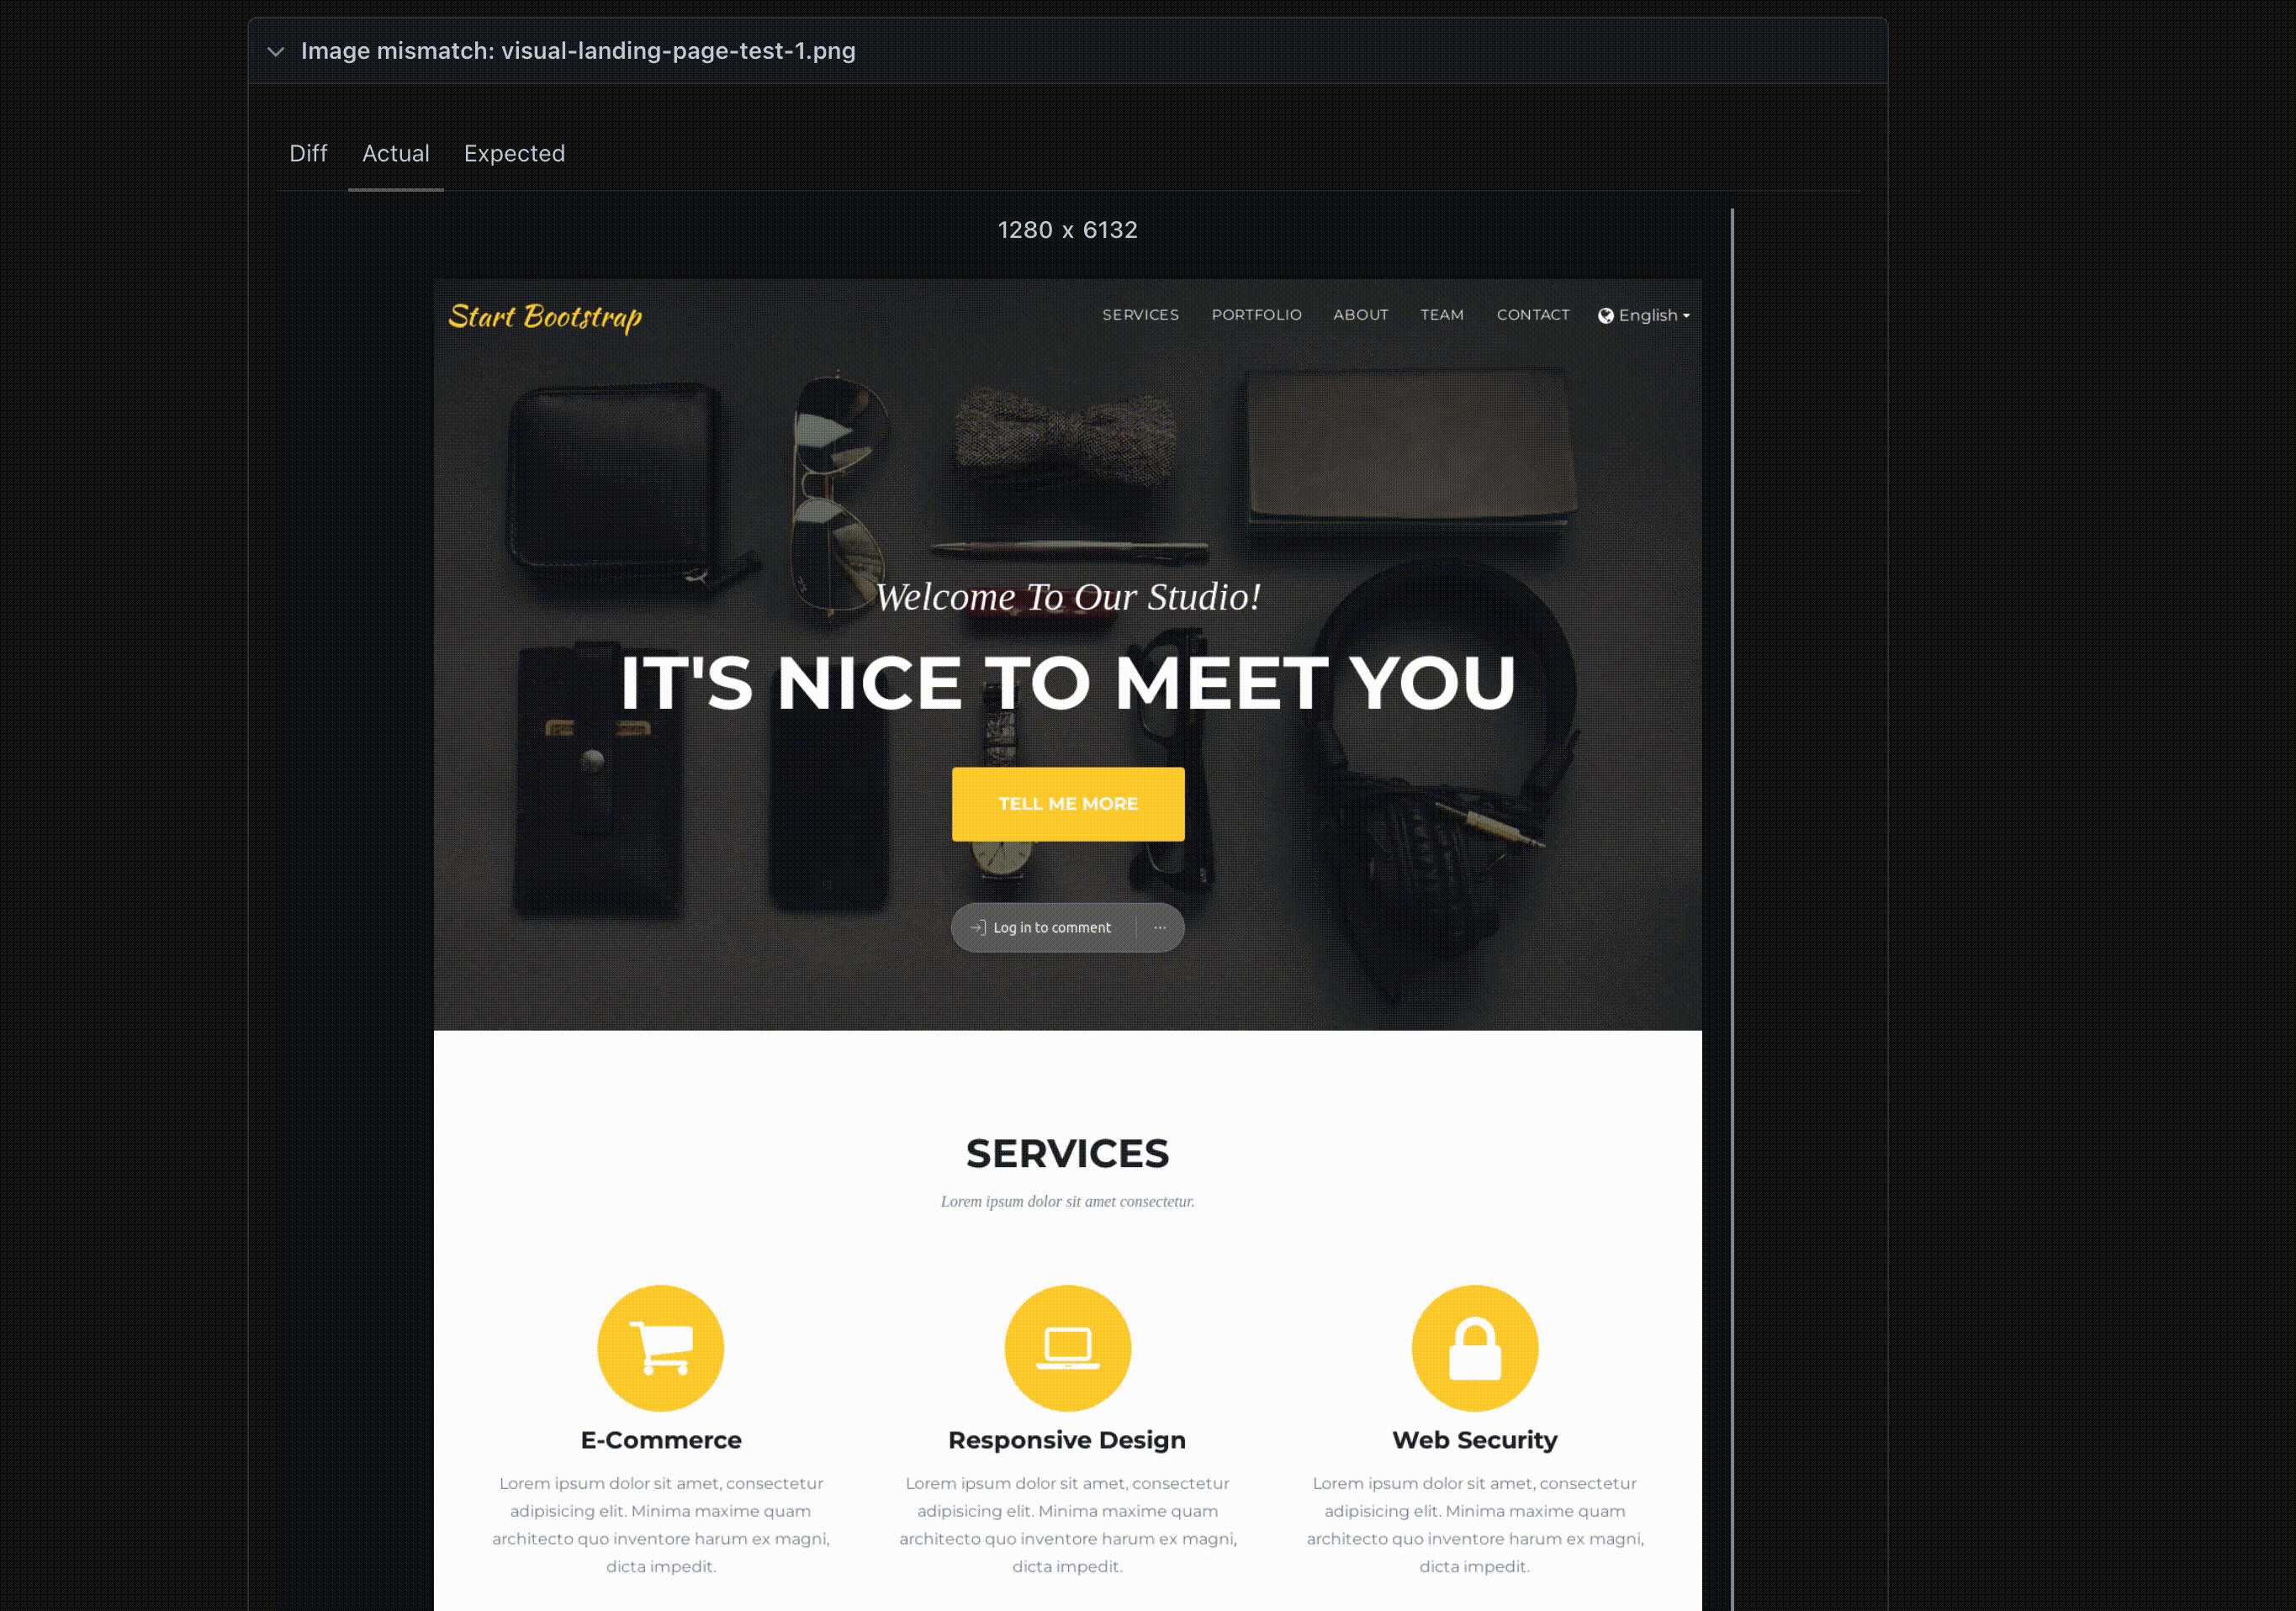
After pushing the updated snapshots in the PR and running the tests, it failed again. When checking the Playwright report, it turned out that due to the Vercel's Comments Overview, an additional button was added to the preview mode, causing the test to fail due to the difference.
Once you understand the cause, the solution is not difficult. All you need to do is remove the DOM that you don't want to include in the snapshot from the E2E test.
import { test, expect } from '@playwright/test';
test('visual landing page test', async ({ page }) => {
await page.goto('');
// remove vercel live comments part
const vercelPreviewComments = await page.$('vercel-live-feedback');
if (vercelPreviewComments) {
await vercelPreviewComments.evaluate((node) => node.remove());
}
await expect(page).toHaveScreenshot({ fullPage: true });
});
※ Remove <vercel-live-feedback /> tag.
Try CI again No.2
Pushing the fixed test again and CI passed. Great!
What's Next
- Updating snapshots is not that easy.
After making modifications or additions to the functionality, it can be somewhat cumbersome to manually start Docker and update the snapshots. You would probably want to update them within the PR.
- When tests fail, the troubleshooting process can be somewhat inconvenient.
Download artifacts from Github Action → Unzip → Open the html and check the report.
The ideal situation would be to verify the changes within the PR.
Let's fix these problems in future.
Finish
You have successfully incorporated E2E tests for a website using Playwright. The tests themselves are very simple, but setting up the environment is not easy. It may take some time to get used to it.
If you are interested, please refer to the sample project.
https://github.com/thundermiracle/next-startbootstrap-agency

Blog part of ThunderMiracle.com
Comments load when in view